Keyframing
Animate any property over time using keyframes in Tooscut.
Pin a value at one time, a different value at another — Tooscut interpolates between them.
The keyframe button
Every animatable property has a diamond button next to it in the properties panel.
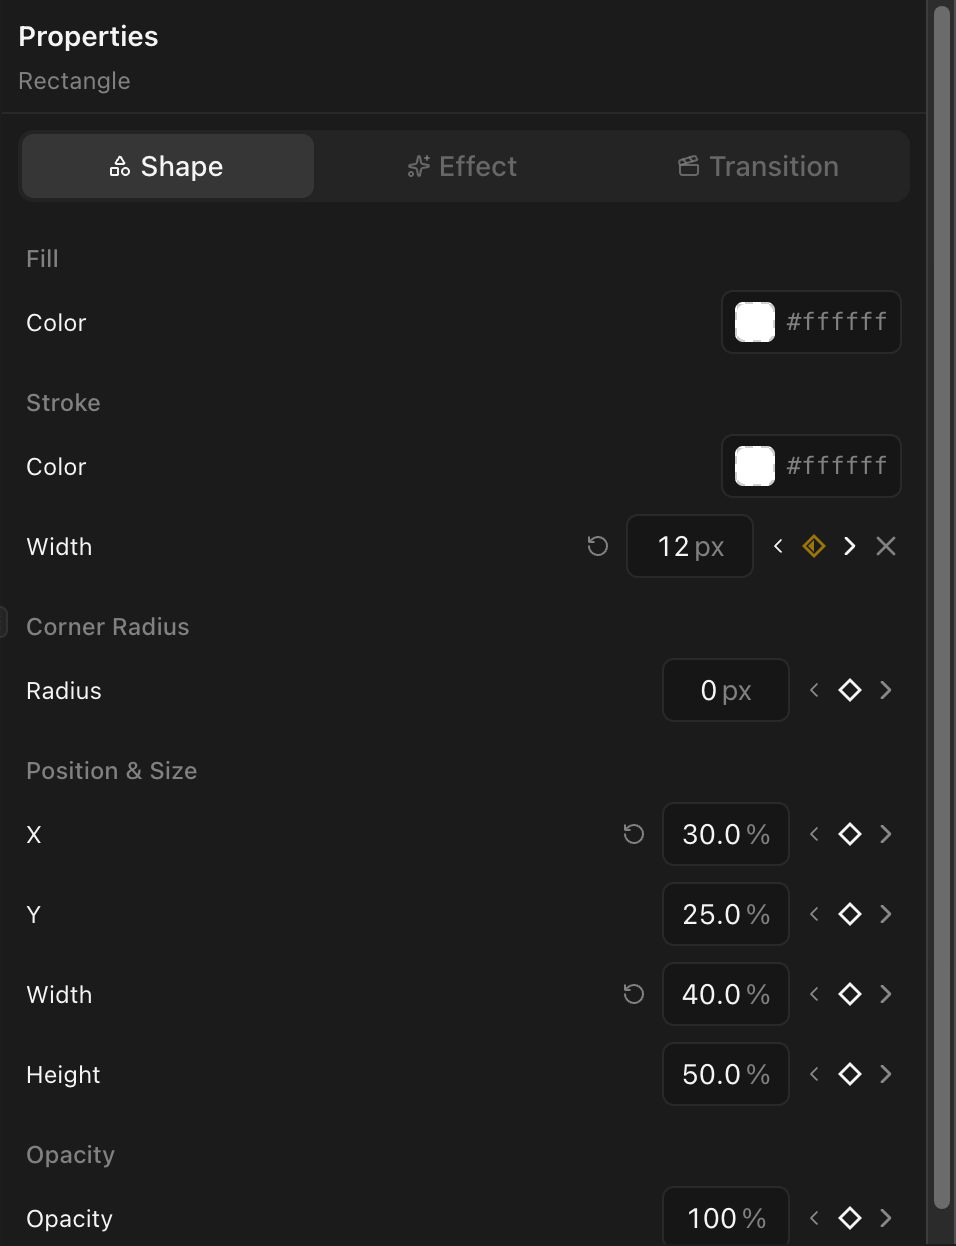
Three states:
| State | Meaning |
|---|---|
| Empty | No keyframes exist for this property |
| Half-filled | Keyframes exist, but the playhead is not at one |
| Filled | The playhead is at a keyframe |
Adding a keyframe
- Move the playhead to the time where you want the keyframe.
- Click the keyframe diamond button, or simply change the property value — a keyframe is created automatically.
Removing a keyframe
Move the playhead to the exact time of a keyframe (the diamond shows filled) and click the button to remove it.
Navigating between keyframes
The previous/next arrows beside the diamond jump the playhead to the nearest keyframe in either direction.
Animatable properties
Transform
Position (x, y), scale (scaleX, scaleY), rotation
Visual
Opacity, corner radius
Effects
Brightness, contrast, saturation, hue rotate, blur
Audio
Volume
Shape and line
Width, height, stroke width, corner radius, line endpoints (x1, y1, x2, y2)
Color grading
Over 40 properties across CDL, color wheels, curves, qualifier, and power window nodes. See Color Grading.
The curve editor
When a clip has keyframed properties, a Curves toggle appears at the bottom of the timeline. Click it to open the graph editor.
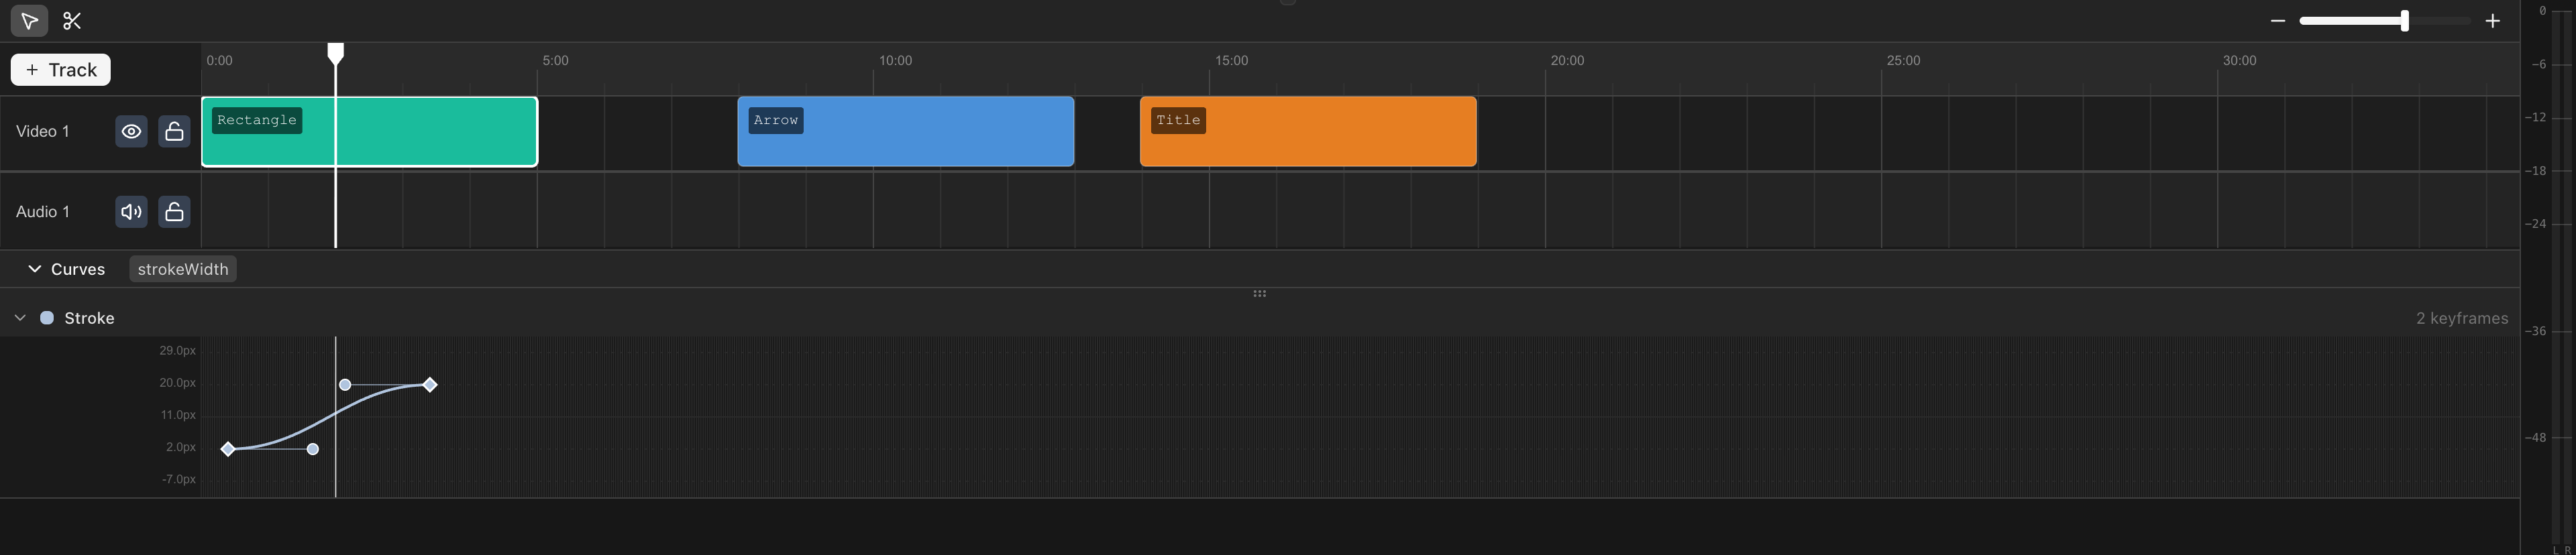
The curve editor shows each keyframed property as a line plotted over time. You can:
- Drag keyframe points up or down to change their value, or left and right to change their timing.
- See all animated properties at once — each property is drawn in a different color with its name shown in the toolbar.
See Easing and Curves for details on controlling the interpolation between keyframes.